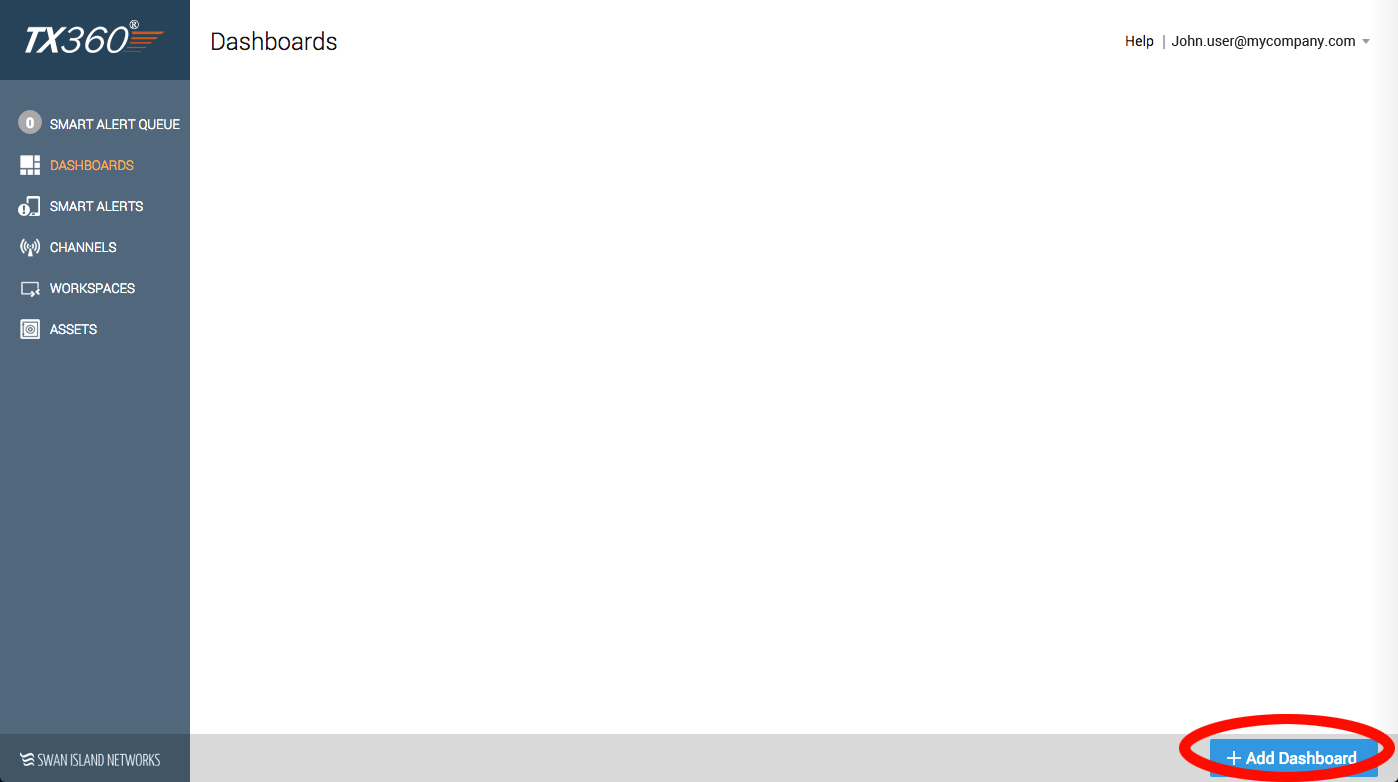
1. Go to the Dashboards page
On the Dashboards page, you’ll see a list of any Dashboards you’ve created, as well as any licensed to your account. Click the blue “+ Add Dashboard” in the bottom right.
2. Add presentation details

- Add a name, description, and 75x75px image (by clicking the gray dashboard icon image) for your dashboard. These will display on the card in the Dashboard Gallery.
- Select a layout by clicking the box next to the “Layout:” label. Note: You can change your Dashboard’s layout at any time.
- Click the blue “Save” button in the bottom right.
3. Add Gadgets to your Dashboard
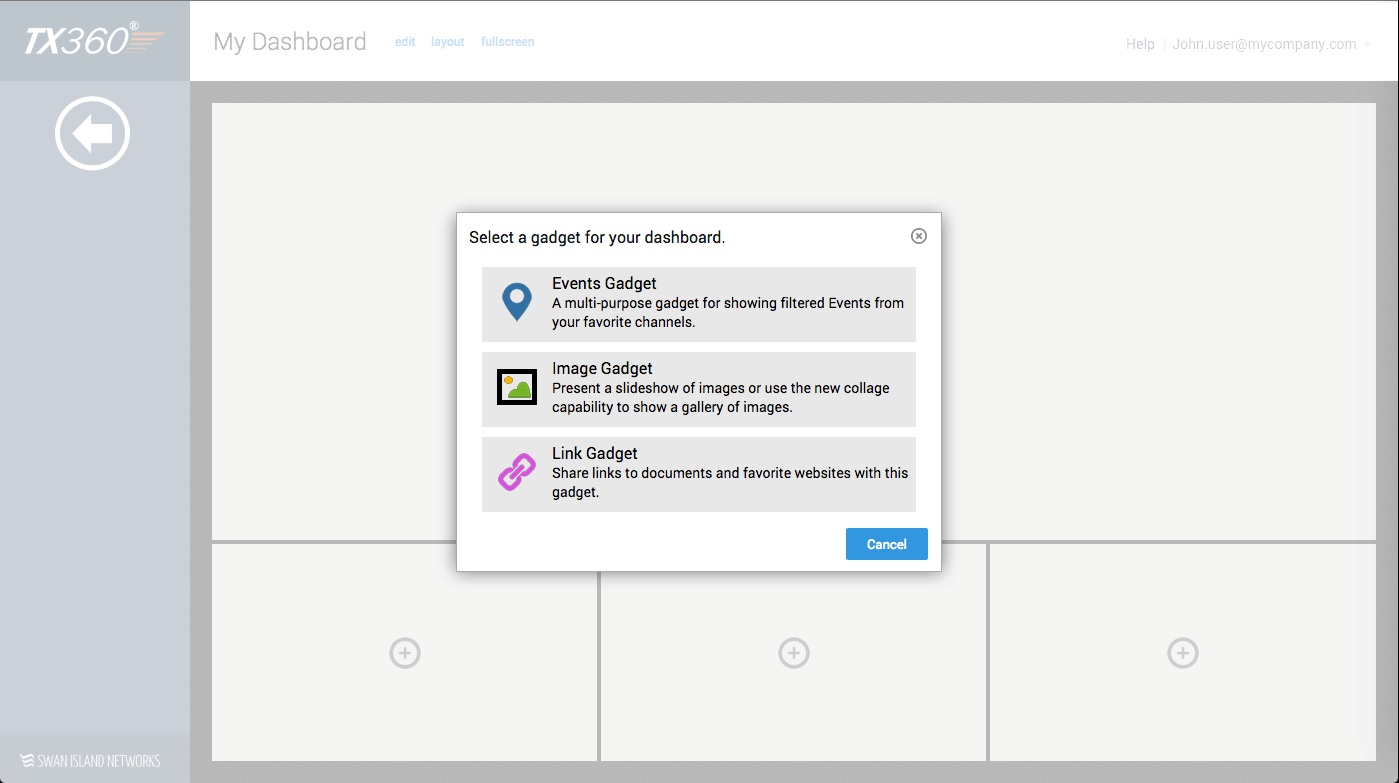
- Click any of the empty Gadget spaces to create a new Gadget.
4. Adding a Map Gadget
- Select the Event Gadget (map mode is an option in Event Gadget settings).
- In the Presentation section, add a Gadget Title and select the “Map” mode.
- Channels: Click “Add Channels” to select which Channels will display their Events on the map. Note: Be sure to select Channels with location data (they have a blue location pin in the Channel card hover overlay) or the Channel Events will not show up on the Map.
- Asset Collection overlays: If you have Asset Management enabled for your Account, you can display Assets on a map. Click the “Add Collections” buttons to select which Asset Collection you would like to display.
- XML, KML, and GeoRSS overlays: Click “Add File Overlay” to display compatible data types on the map. If the overlay file is hosted somewhere, you can enter the URL in the popup box, name it, and assign an icon to it. If you’ve created the overlay locally or downloaded it, you will have to host it on a server somewhere and reference the URL in the popup. TX360 does not presently allow you to upload overlay files.
- Search overlays: You can add a Bing Business Search overlay to your map by clicking “Add Search Overlay.”
- Browse existing overlays: You can add overlays that have been licensed to your account.
5. Adding an Events Gadget
- In the Presentation section, add a Gadget Title and select the “List” mode.
- Channels: Click “Add Channels” to select which Channels will display their Events in the list.
- Note: The Collections and Overlays sections are not used in List mode.
6. Adding an Image Gadget
- In the Image Gadget settings, select a rotation time (in seconds) to decide the length of time that each image will be show before rotating to the next.
- To add images, click “Select” and add a Name and the image URL to the image fields. Click “Update” to save the image to the image rotator.
7. Adding a Link Gadget
- Click “Select” and add a Name and URL for the Link in the respective fields.
- Click “Update” to save the link.
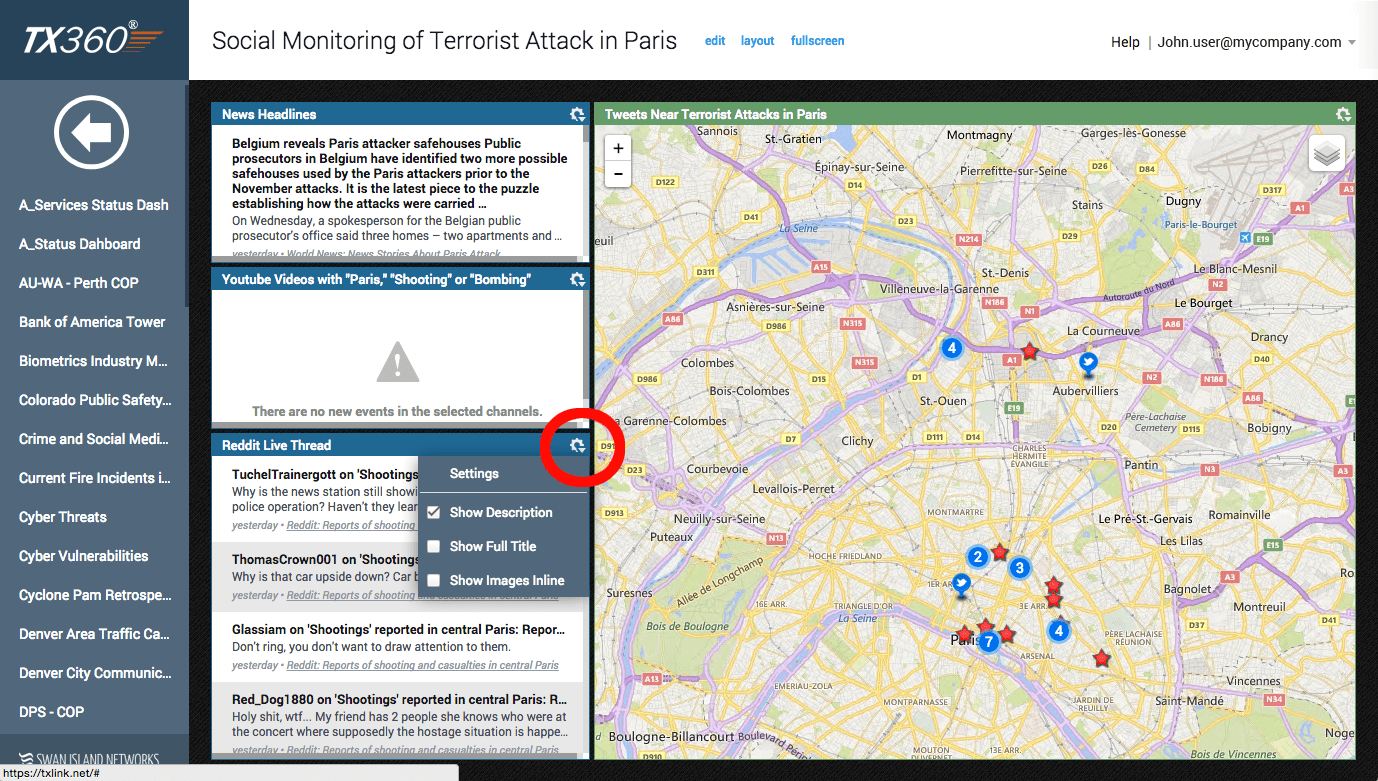
8. Editing and Managing Gadgets
You can edit any of a gadget by clicking the gear icon in its top corner, and selecting “Settings.” You can also toggle the display of the description, full title, and inline images.
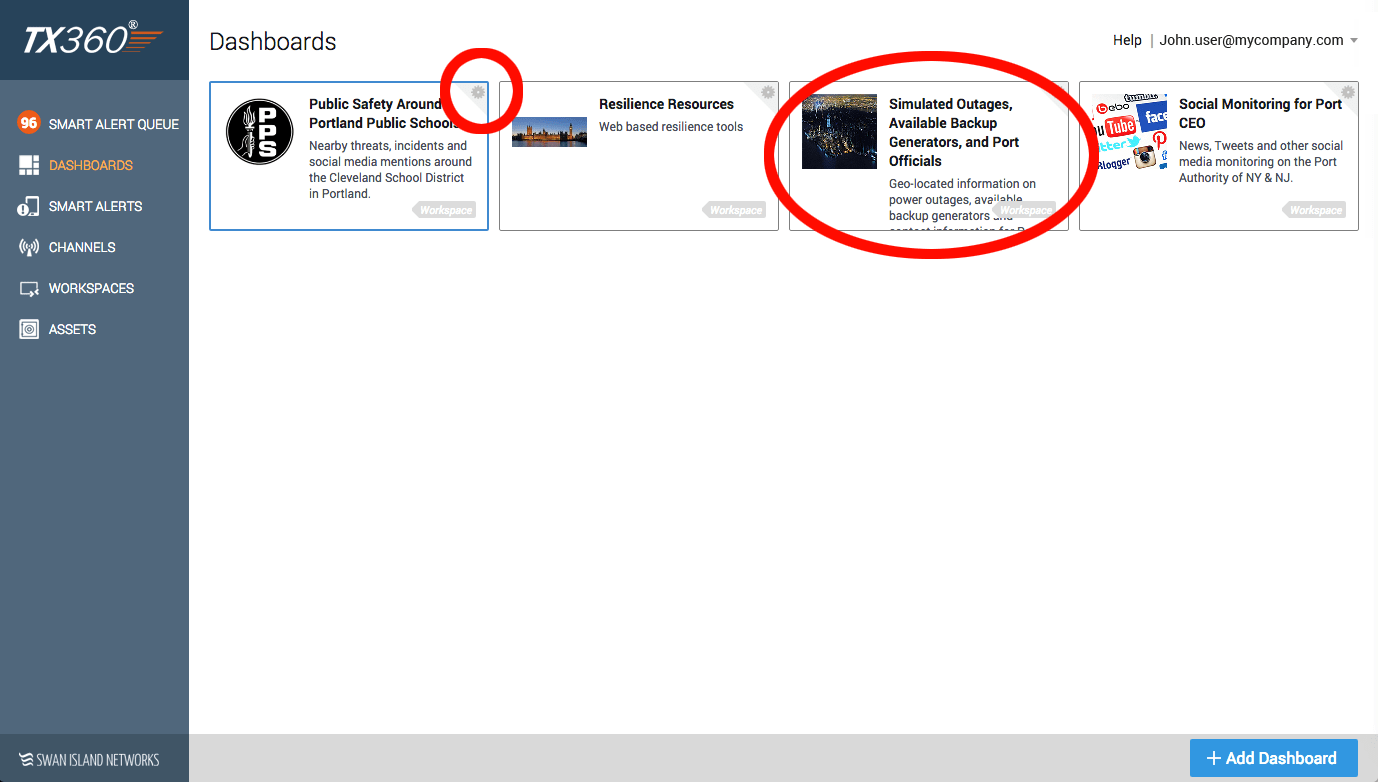
9. View your Dashboard
Click on a Dashboard card to view it, or click the gear in its top right corner to edit settings.
- Map Navigation
- In a Dashboard’s map gadget, you can hover over the various map icons to see asset and alert details.
- Use the mouse to drag the map to a location or use the zoom buttons in the top left. You can also use the mouse wheel to zoom.
- To view and toggle a map’s legend and overlays, hover over the layers icon in the top right corner of the gadget
2. Edit your Dashboard

- Changing Name and Description
- While viewing a Dashboard, you can edit a Dashboard’s settings by clicking “edit” next to the Dashboard’s name.
- Changing Layouts
- While viewing a Dashboard, you can change the layout by clicking “layout” to the right of the Dashboard title.
- Keep in mind that if you select a layout with fewer gadgets than you are currently using, you will lose some of these gadgets.
- Moving Gadgets
- While viewing a Dashboard, you can move a Dashboard’s gadgets around simply by dragging and dropping them into another slot. You can also change their assigned slot from on the Edit Dashboard page, in the Gadgets section.
3. Sharing Dashboards with other Users
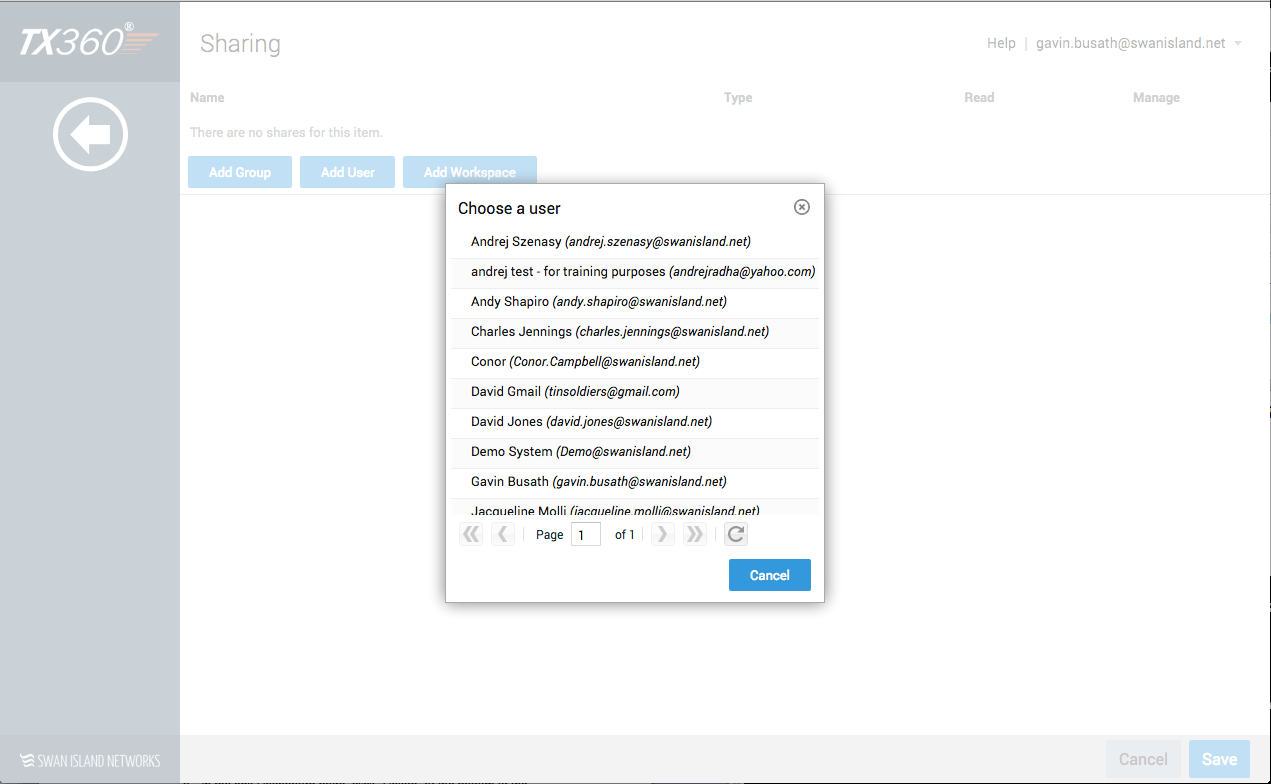
To share a Dashboard, click the gear icon in the top right corner of its card (on the Dashboards page). Once on the Edit Dashboard page, click on the “Edit Permissions” tab or the “Share” button at the bottom of the screen. On the Sharing page, you can add a Group, User or Workspace to the Dashboard’s viewing permissions.
4. Deleting Dashboards
On the Edit Dashboard page, click “Delete” at the bottom of the screen and confirm deletion.